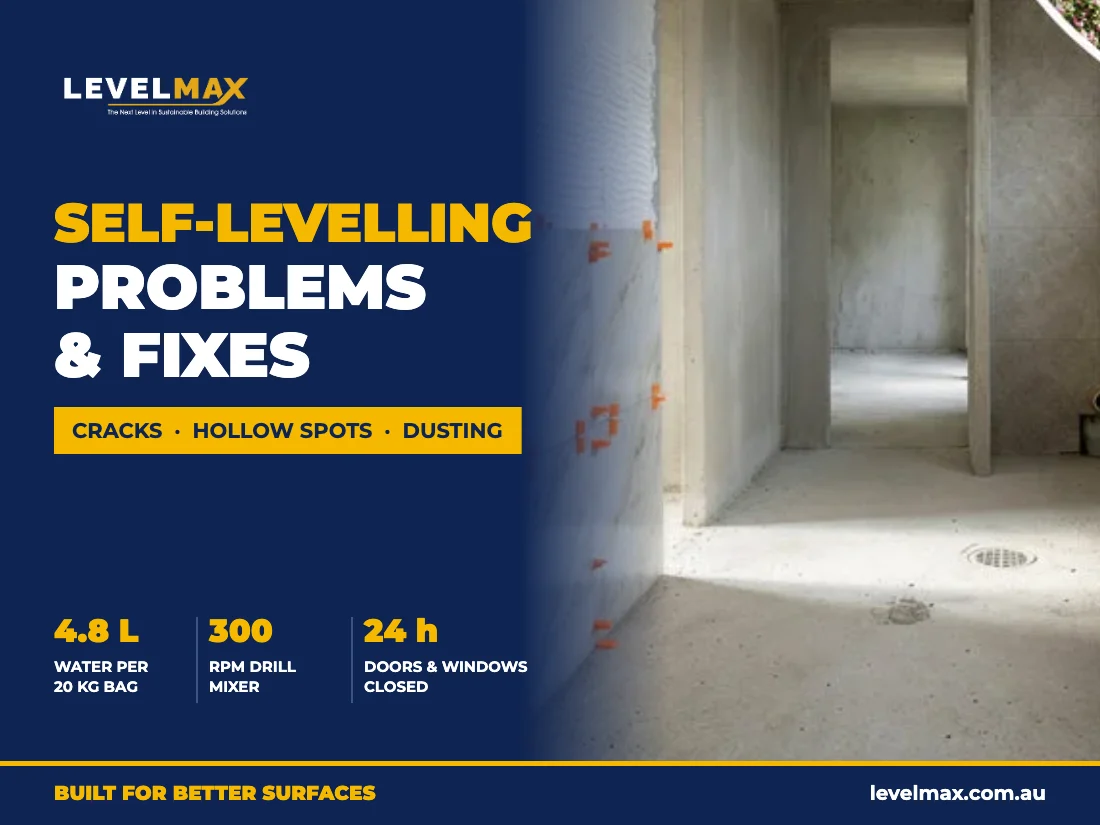
Most self-levelling compound problems come from four things: too much mixing water, missing or wet primer, poor mixing and poor curing conditions. The table below matches each symptom to its likely cause, so you can fix the current floor and prevent it next time.
Problems, causes and prevention
| What you see |
Likely cause |
How to prevent it |
| Cracks |
Too much water; draughts or direct sun while curing; or a damp-proof coat that was not dry before priming |
Measure water exactly; close doors and windows and keep sun off for 24 hours; let a damp-proof coat dry completely |
| Cracks with brush marks on the underside |
Acrylic primer applied over a damp-proof coat that was still wet, so the primer never formed a film |
Let the damp-proof coat dry completely before priming |
| Hollow sound or lifting |
Too little primer, primer not fully dry, or dust left on the substrate |
Prime every area to the required film, let it dry fully, vacuum before priming |
| Surface dusting |
Too much mixing water |
Use the exact water per bag (4.8 L for 20 kg of ProFlow) |
| Pinholes or bubbles |
The substrate drew water out of the compound because primer was missing, thin or over-diluted |
Cover every area with primer; never dilute Primer X Concentrate beyond 1:1 |
| Uneven colour |
Under-mixing, or different amounts of water in different bags |
Mix every bag the same way with the same measured water |
| Small grains on the surface |
Under-mixing, or dry powder left on the bucket walls or base |
Scrape the bucket sides and base and mix for at least 3 minutes |
| Dark lumps in the powder |
Bags got damp or wet on site |
Store bags dry, off the ground and sealed |
| Dips or waves after drying |
Compound leaked through holes, cracks or gaps at walls |
Seal openings with expanding foam or sand before pouring |
How to repair hollow or debonded areas
Remove the affected compound, grind the substrate back to a sound surface, vacuum thoroughly, re-prime and let the primer dry completely before pouring again. Pouring new compound over a hollow area only hides the problem.
A prevention checklist for every pour
- Test slab moisture to AS 1884. Self-levelling compound and acrylic primers are not moisture barriers; use a damp-proof primer where readings exceed 75% RH and let it dry completely.
- Prepare the surface: grind to at least CSP 3 and remove dust with an industrial HEPA vacuum.
- Seal gaps with expanding foam or sand.
- Prime with Primer X Concentrate (1:1) on concrete and screeds or Primer X Timber on timber, and wait until it is completely dry.
- Measure the water: 4.8 L of clean, cool water per 20 kg bag of ProFlow.
- Mix properly: a drill mixer at around 300 rpm for at least 3 minutes, rest for 2 minutes, then remix briefly.
- Pour within the working time of 20–30 minutes.
- Protect the pour: keep doors and windows closed and the floor out of direct sun for 24 hours.
Things never to do
- Mix by hand or in a concrete mixer
- Add extra water, or add water once the mix has started to set
- Add cement, lime, gypsum or any other additive
- Mix different brands of compound or pour them at the same time
- Pour below +5 °C or above +35 °C
Related reading
Need help with a problem on site? Our technical team can review your conditions and product use. Call 1300 601 898 or contact LEVELMAX.
Prev post

Updated on 30 September 2026
Next post
Updated on 16 September 2026