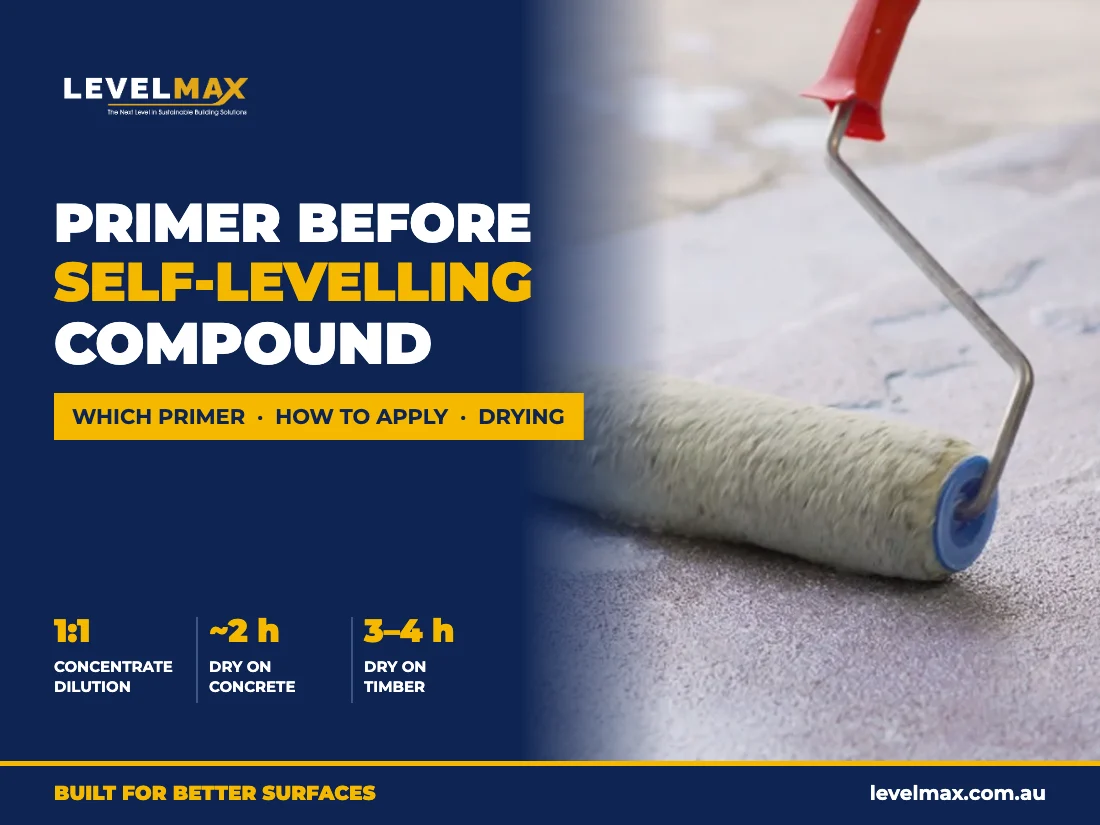
Yes. Every substrate should be primed before you pour a self-levelling compound, whether it is concrete, a screed, timber or existing tiles. Skipping primer, or pouring onto primer that has not dried, is one of the most common causes of pinholes, cracking and hollow-sounding floors.
This guide explains what primer does, which primer suits each substrate, how to apply it and how long to wait before pouring.
What does primer do under self-levelling compound?
A self-levelling compound needs to keep its mixing water long enough to flow, level out and cure. A dry, absorbent slab pulls that water out of the compound from below. The compound then:
- Stops flowing early and leaves an uneven surface
- Develops pinholes and air bubbles as air escapes from the substrate
- Shrinks and cracks as it loses water too fast
- Bonds poorly and can sound hollow or lift later
A primer seals the surface, evens out how much water it absorbs and gives the compound a surface it can bond to.
Primer is not a moisture barrier. If the slab is damp, you need a damp-proof primer as a separate step (see below).
Which primer for which substrate?
| Substrate |
Primer |
How to use it |
Dry before pouring |
| Concrete, screed, render, masonry |
Primer X Concentrate |
Dilute 1:1 with clean water; 1–2 coats |
About 2 hours, and completely dry |
| Plywood, particleboard, Yellow Tongue |
Primer X Timber |
Ready to use; at least 1.5 mm total wet film |
3–4 hours, and completely dry |
| Existing ceramic tiles |
A primer suited to non-absorbent surfaces |
After degreasing and abrading to at least CSP 3 |
Follow that primer's TDS |
Primer X Concentrate is a water-based acrylic for mineral substrates. Primer X Timber is a thicker, grey acrylic made for timber substrates. Do not use the concentrate on timber.
A compliant third-party primer approved for cement-based self-levelling compounds can also be used. Check that it is compatible with the compound you are pouring.
How to apply primer
On concrete and screeds
- Prepare. Grind to at least CSP 3 to remove laitance, curing compounds, old adhesive, paint and contamination, then vacuum thoroughly.
- Dilute correctly. Mix Primer X Concentrate 1:1 with clean water. Never dilute it further: over-diluted primer behaves as if no primer was used.
- Apply evenly. Use a roller, brush or soft broom, working in two directions to leave a wet film of at least 0.2 mm per coat. Cover every area, with no dry spots and no pooling.
- Apply a second coat on very absorbent slabs, once the first coat is dry.
- Let it dry completely, about 2 hours under normal conditions, before pouring.
On timber subfloors
- Check the subfloor. It must be rigid, dry and securely fixed. Primer and levelling compound cannot compensate for a floor that flexes.
- Do not wet the timber before priming.
- Stir Primer X Timber and apply it undiluted with a roller of at least 12 mm nap (a brush for edges), working in two directions to a total wet film of at least 1.5 mm with no bare timber showing.
- Add a second coat if the timber absorbs the first quickly.
- Let it dry for 3–4 hours. Keep the area free of dust and foot traffic; vacuum and touch up if it gets contaminated.
How do you know the primer is ready?
The primer must be completely dry before you pour. Do not pour if any area is still:
- Wet or tacky to the touch
- Patchy, with missed or thin areas
- Pooled in low spots
Cold or humid conditions lengthen drying times. Apply Primer X Concentrate between +5 °C and +35 °C.
What about damp slabs?
Acrylic primers and self-levelling compounds do not stop moisture. Test the slab in accordance with AS 1884; we recommend in-situ RH probes to ASTM F2170 with a result of 75% RH or below.
Where readings are higher, on ground-contact slabs, on new concrete or under timber floors, apply a damp-proof primer first.
Let the damp-proof coat dry completely before applying Primer X. If the acrylic primer goes on too early, it cannot form a proper film. The compound can then crack, often showing brush marks on its underside.
Do you prime again between layers?
Yes. When building up more than 40 mm with ProFlow in several layers, let each layer set and dry, then prime it again before the next pour.
Common priming mistakes
- Diluting Primer X Concentrate more than 1:1
- Pouring onto primer that is still wet or tacky
- Leaving dry spots or missed edges
- Using a concrete primer on timber
- Skipping the dust removal after grinding
- Treating primer as a moisture barrier
Related reading
Primer X Concentrate (20 L), Primer X Timber (20 kg) and ProFlow are stocked at our Greenacre warehouse in Sydney. Call 1300 601 898 or request a trade quote.